Pasta a Macchina
My preference is to roll out the pasta using a rolling pin (mattarello). For this, see Pasta al Mattarello.
However, if you already have a pasta machine (macchina per pasta) and want to stick with it, this page is for you.
1. Make some egg pasta (pasta all'Uovo) according to one of the two variants described.
2. If you made a full dough, in your base-floured work surface, cut the dough into halves. Wrap one half in plastic wrap to prevent its drying out and set aside until you have completed making whichever pasta type with the unwrapped half. Divide the unwrapped half into eighths. If you are rolling out a thawed 500-gram (1.1 lb) disk, then divide it into fourths.
3. For each smaller piece of dough:
a. Coat in base flour and then flatten with a rolling pin.
b. Feed through your pasta maker at setting #1 (thickest setting). Fold it over on itself, flour if necessary, and then, with the straight edge leading, feed through the pasta maker again . (Keep in mind that for ravioli dough you’d like the ends to be square to make the best use of it.)
c. Continue the steps of folding the dough over, flouring the outside as necessary, and feeding the dough through gradually higher (thinner) machine settings until it’s the desired thickness, about 1 millimeter for ravioli and one notch thicker for long pastas. The exact numbers of the settings will depend on the machine. For this last roll-out, when making ravioli, it’s important that you sprinkle a generous amount of base flour on your work surface BEFORE rolling it out, otherwise it will stick badly and ruin your day. Conversely, you do not want to add extra base flour on top of the rolled-out dough when making ravioli.
4. If you are making ravioli, STOP HERE and return to the Ravioli recipe.
5. If you are using the pasta chitarra (guitar) to cut the pasta, STOP HERE and return to the Pasta alla Chitarra recipe.
6. If you are using a knife to cut the pasta by hand, STOP HERE and return to the Pasta Tagliata a Mano recipe.
7. At this point in the recipe, you are committed to using your pasta machine to cut the pasta. I find that my machine’s spaghettini cutter makes it come out too small (plus we prefer bigoli), so I only use the fettucine cutter in my particular machine.
8. Flour each piece well on both sides and put it through the pasta machine’s fettuccine or spaghettini cutter. I used to cut the strands to 8-10 inches as they were extruded; then I would place them, loosely curled, on a base-floured surface (or tray if planning to freeze). Now I prefer to drape the uncut strands on a pasta drying rack, spread out well across the rack. Either method works. If you use the tray, however, avoid stacking layers of pasta on each other. Above all, avoid any scenario where the strands can stick together in little balls as it will be very difficult to separate them later. If you don’t plan to freeze the pasta, you can keep it in the fridge or on the drying rack until ready to cook the same day (fridge is fine for the next day). Once frozen, you may transfer the pasta to gallon-sized plastic storage bags.
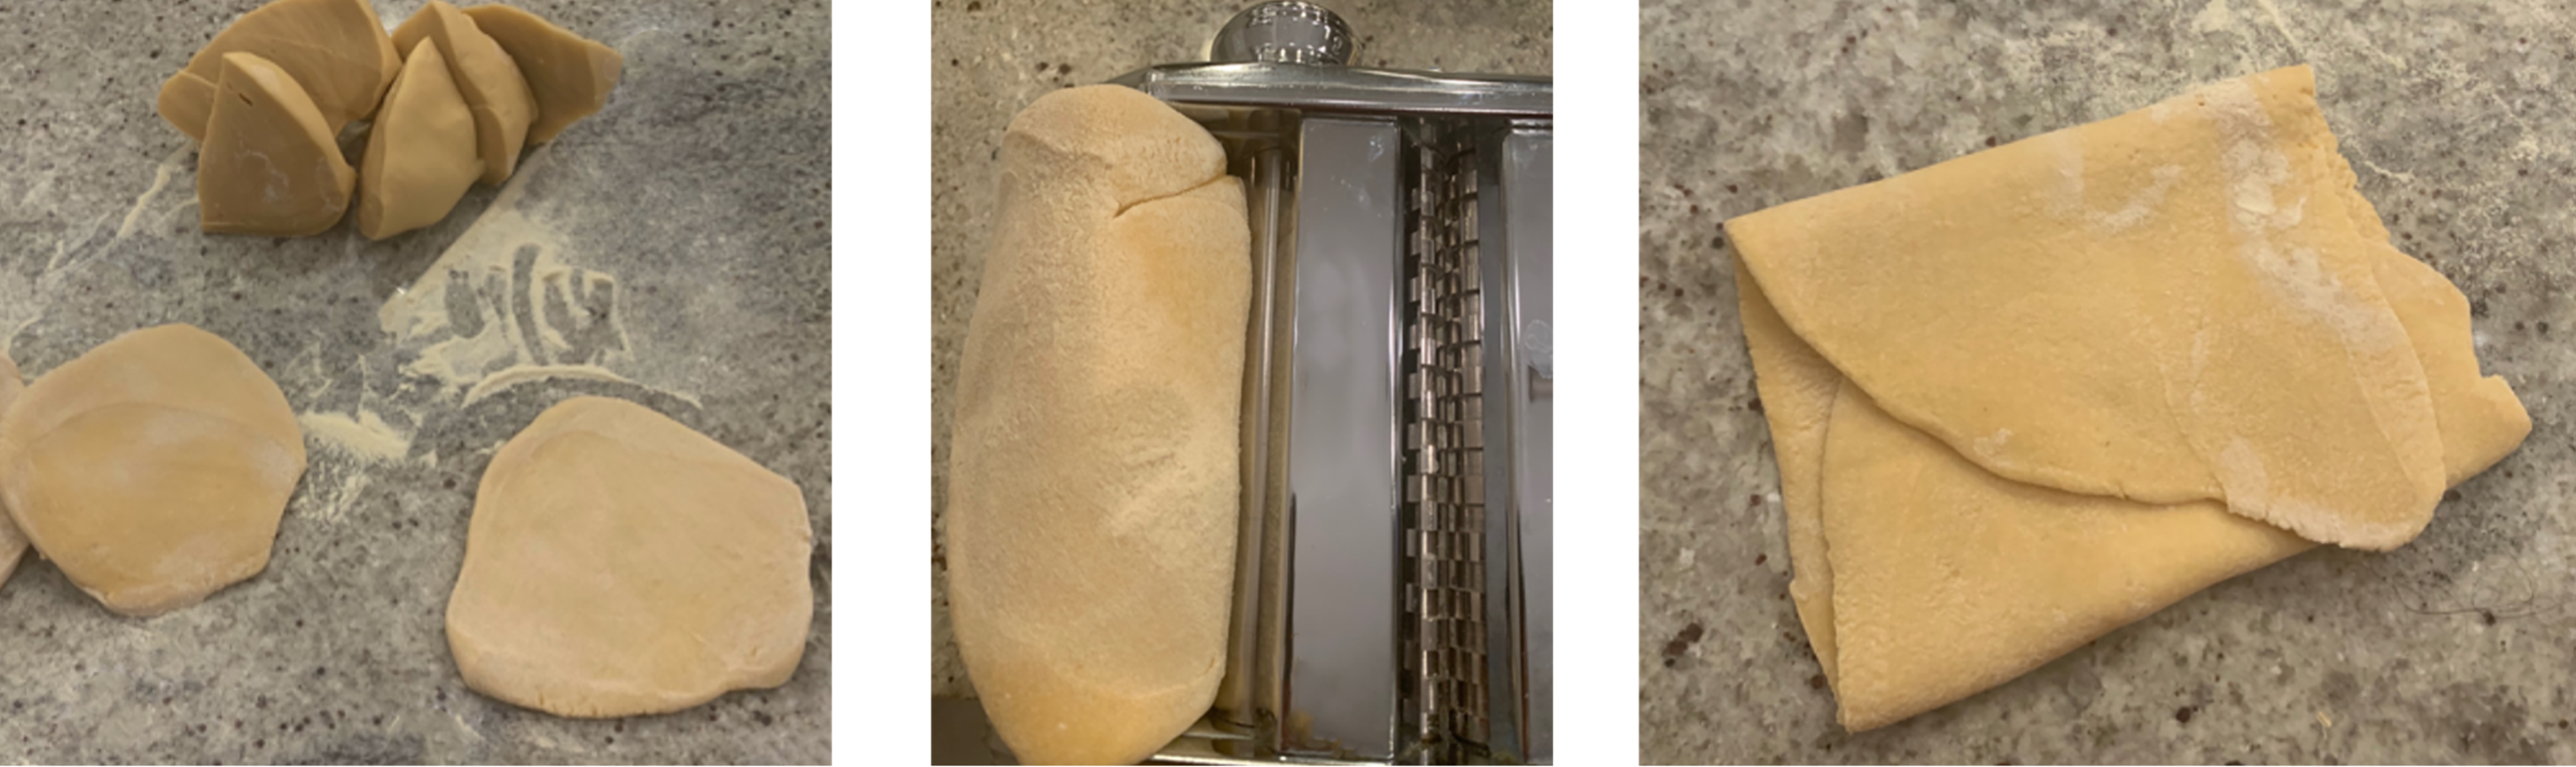
Halve the dough. Wrap one half in plastic, and divide the other half into eights:

Coat each eighth in base flour, flatten, and feed through machine at lowest (thickest) setting. Fold dough over on itself, press down, and send through machine again:
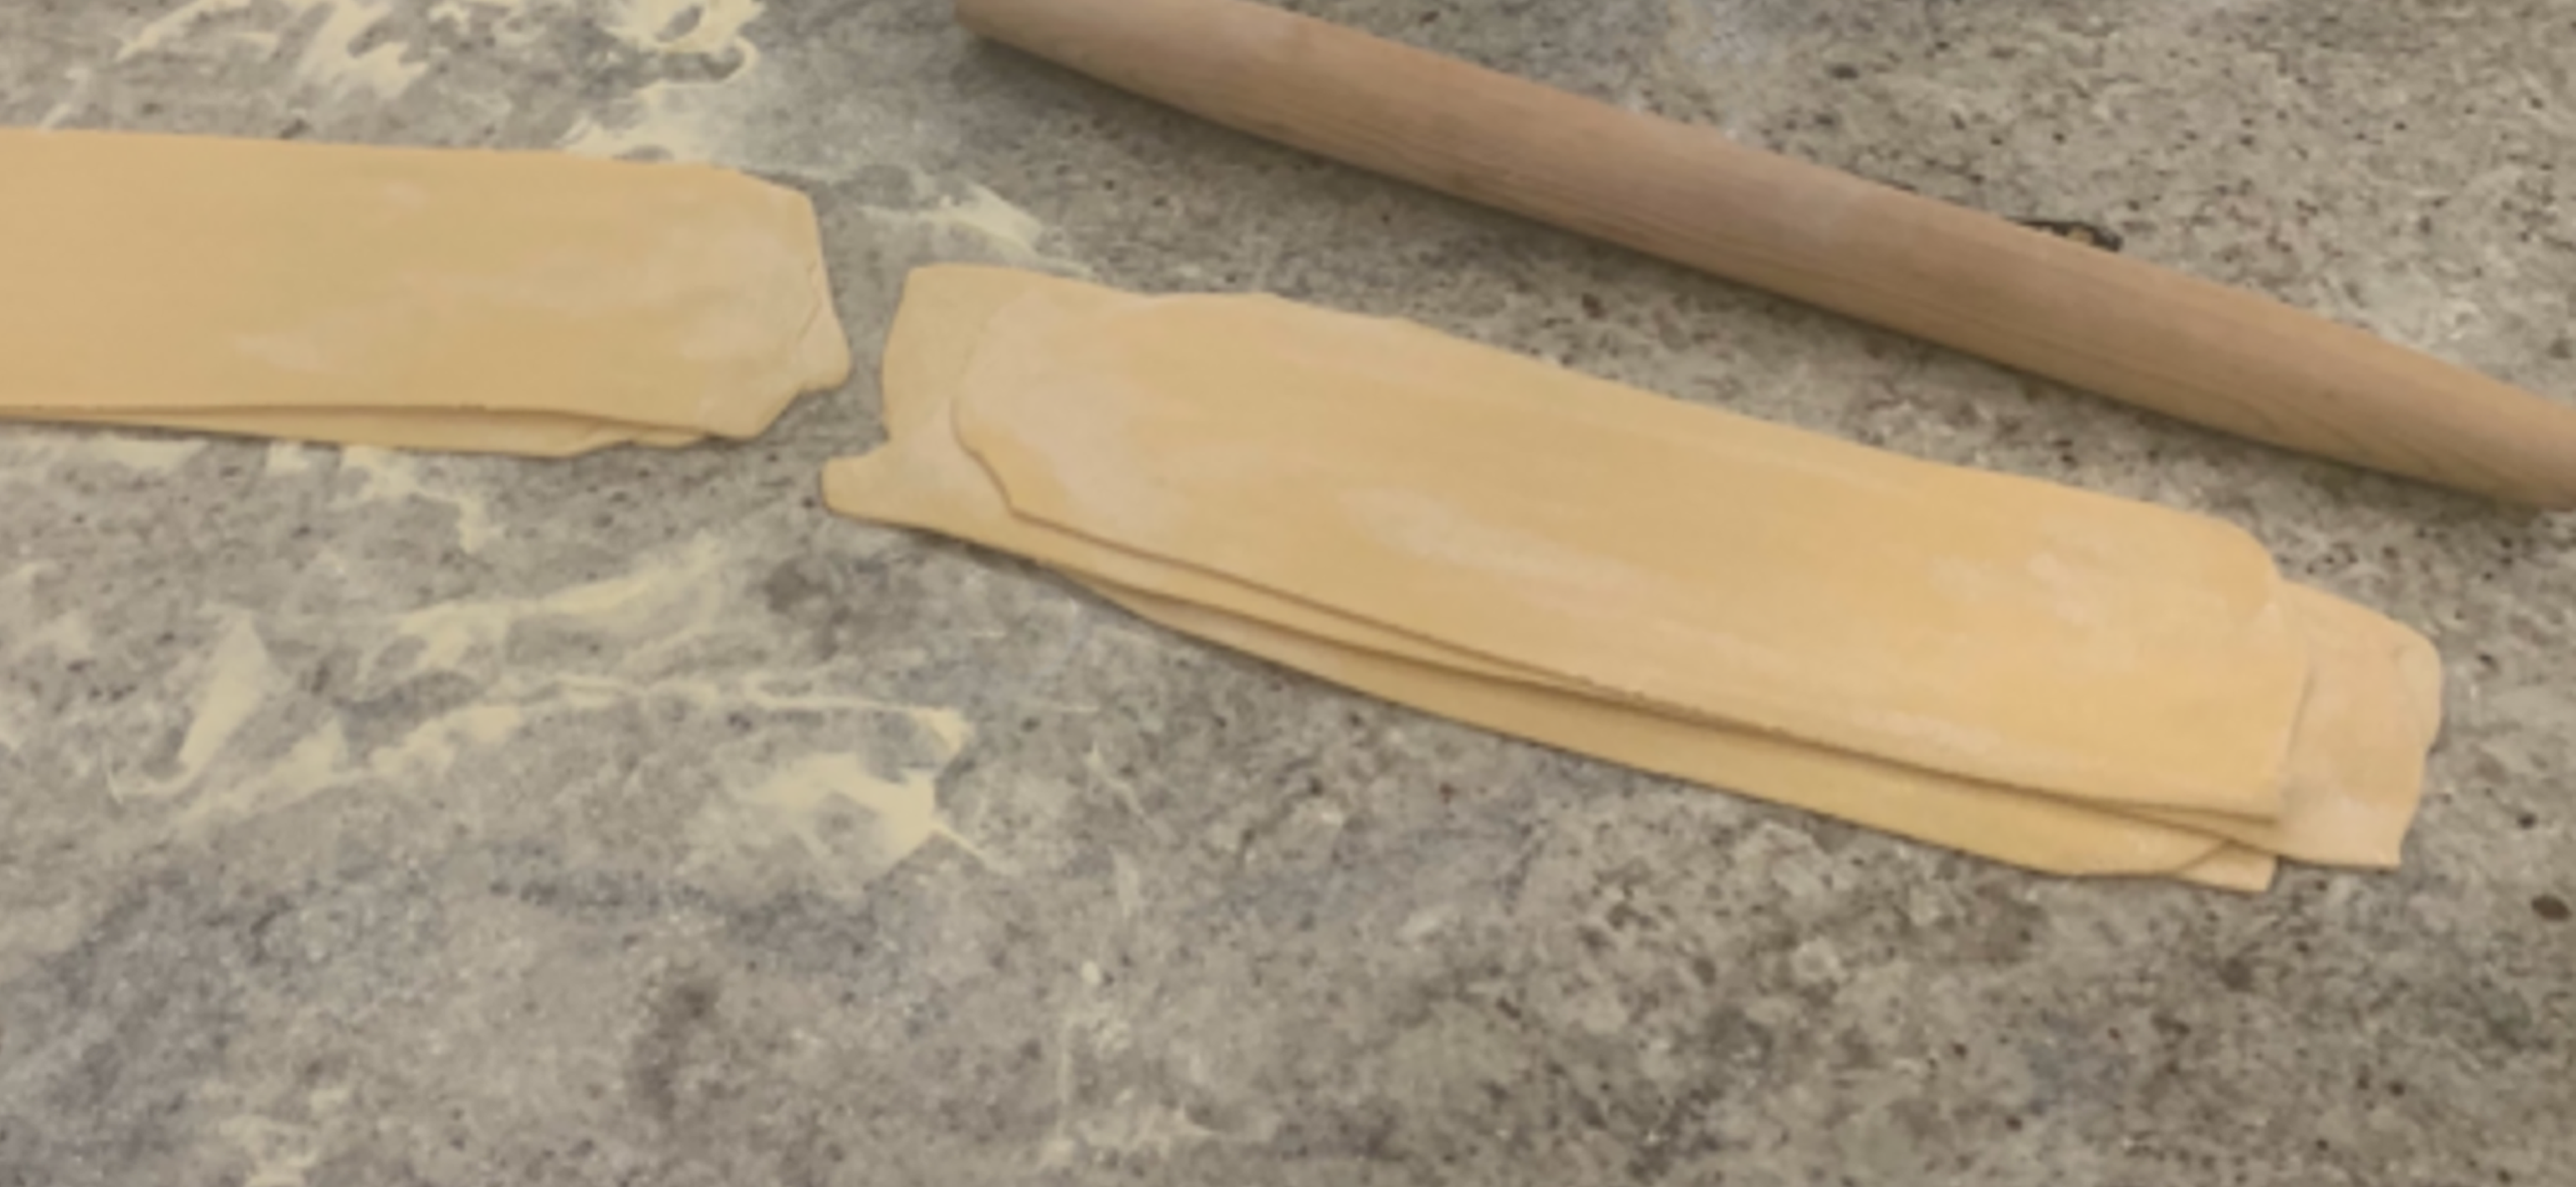
After going through lowest setting twice:

Send through gradually higher (thinner) settings. This is after setting #4 on one of my machines (each machine is different):